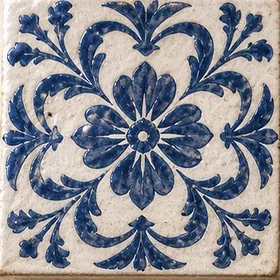
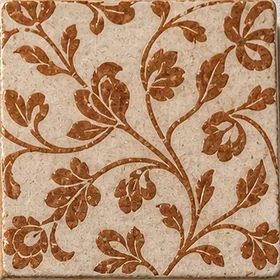
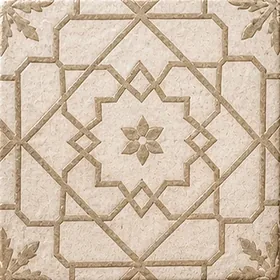
Handmade Portuguese tiles are made to last for generations. Like any natural, hand-finished material, they reward a little extra care at every stage, from ordering the right quantity to choosing the grout and cleaning them day to day. This guide brings together the advice we give our own clients.
Planning & ordering
Good planning is the foundation of a beautiful installation. Measure each surface (width × height for walls, length × width for floors) and add the areas together, deducting only large openings such as doors and windows.
- Order 10% extra. Enter your total area on the product page by tile, m² or sq ft; it converts your measurements into whole tiles and adds 10% overage for cuts and breakage.
- Allow more for complex layouts, such as diagonal or herringbone patterns, small rooms with many cuts, large pattern repeats, and walls with niches, windows or sockets.
- Order everything at once. Handmade tiles are painted and fired in batches, and a later order may differ slightly in shade.
- Keep spare tiles after installation. They are the best insurance for future repairs.
- Check suitability. Confirm on the product page that the design is rated for your application, and order a free sample to see the colour in your own light.
Receiving & storing your tiles
When your tiles arrive, count the boxes, then open them and check the tiles within 7 days of delivery. Report any tiles damaged in transit within that time, with photos, and we will replace them at no cost. See Shipping & Returns for details.
Until installation, store the boxes flat, indoors and in a dry place, away from building dust, frost and direct heat.
Blending tiles from several boxes
Every handmade tile varies slightly in tone, line and glaze; that is the beauty of the craft. The shade rating on each product page, from V1 (uniform) to V4 (substantial variation), tells you how much to expect. To spread the variation evenly across a surface:
- Open at least three boxes at a time and mix tiles from all of them as you work, rather than laying one box after another.
- Dry-lay a section of the design on the floor before fixing, and step back to check the balance of colour.
- Where several tiles combine to form one motif, check the orientation of every tile so the pattern meets correctly.
- Set aside any tile you are unsure about and use it for cuts or in less visible areas.
Preparing the substrate
Tiles are only as good as the surface beneath them. Before tiling, make sure the substrate is:
- Sound and rigid: free of movement, cracks and loose material. Floors in particular must not flex.
- Flat: handmade tiles have gentle irregularities of their own and should not be asked to disguise an uneven wall.
- Clean and dry: free of dust, grease, old adhesive and paint that could weaken the bond.
- Prepared as the adhesive manufacturer specifies: surfaces such as plaster, plywood or existing tiles may need a primer or a dedicated system.
In showers and other wet areas, install a suitable waterproofing membrane or system before tiling.
Adhesive & setting
Use a good-quality cement-based ceramic tile adhesive suited to your substrate and location. Flexible, polymer-modified adhesives are generally recommended for wet areas, floors, heated surfaces and exterior walls. Always follow the manufacturer’s instructions for mixing, open time and curing.
- Aim for full contact. Spread adhesive with a notched trowel and back-butter each tile with a thin layer so its slightly irregular back is fully supported. This is essential in wet areas and on floors.
- Allow joints of 2–3 mm. Handmade tiles vary slightly in size, so set joints by eye as well as with spacers to keep the lines looking even.
- Keep the glaze clean. Wipe any adhesive from the tile face with a damp sponge before it sets.
- Cut with care. A wet saw with a diamond blade gives the cleanest cut through glazed ceramic. Smooth cut edges with a rubbing stone, and always wear eye protection.
- Leave movement joints. Use a flexible sealant instead of grout at internal corners, where tiles meet other materials, and around baths, basins and worktops.
Grouting
Grout frames every tile and shapes the finished look: a close colour match creates a calm, continuous surface, while a contrasting colour emphasises the grid.
- Wait until the adhesive has cured, as its manufacturer specifies, before you grout.
- Always test first. Grout a spare tile to check that the grout cleans easily from the glaze and does not stain its edges. Dark or strongly coloured grouts need particular care with pale handmade glazes.
- Choose a grout suited to your joint width and location. Fine-grained (unsanded) grouts are typically used for narrow joints and are gentler on glazed surfaces.
- Work in small areas, pressing the grout firmly into the joints with a rubber float held diagonally.
- Remove the excess promptly with a barely damp sponge, then buff away the haze with a soft, dry cloth. Never let grout dry on the tile face.
Sealing the grout
The glazed face of our tiles does not need sealing, but cement-based grout is porous and benefits from protection against stains and moisture.
- Once the grout has fully cured, apply a penetrating grout sealer with a fine brush, following the manufacturer’s instructions.
- Wipe any sealer off the glaze straight away.
- Refresh the sealer periodically, and more often in showers and kitchens. When water no longer beads on the grout, it is time to reseal.
- Because handmade glazes can be slightly porous at the edges, test any sealer on a spare tile first.
Everyday cleaning
Glazed ceramic is one of the easiest surfaces in the home to keep beautiful. Gentle, regular cleaning is all it needs.
Do
- Wipe with a soft cloth or sponge and warm water.
- Use a pH-neutral cleaner, diluted as directed.
- Dry the surface to avoid water marks, especially in hard-water areas.
- Squeegee shower walls after use and ventilate the room.
- Wipe up oil, wine, coffee and tomato promptly, especially on grout.
Don’t
- Use acidic products such as vinegar, lemon juice or limescale removers.
- Use bleach or other harsh chemical cleaners, which can discolour grout.
- Scrub with abrasive powders, scouring pads or steel wool.
- Use steam cleaners or pressure washers on tiles and grout.
- Leave cleaning products to dry on the surface.
Care at a glance
| When | What to do |
|---|---|
| After each use (showers) | Squeegee or wipe dry, and ventilate the room |
| Weekly | Clean with warm water and a pH-neutral cleaner |
| Every few months | Check grout and sealant joints for wear or gaps |
| As needed | Refresh the grout sealer and replace worn silicone |
Showers & wet areas
Glazed tiles resist water naturally, but a shower is only as watertight as the system behind the tiles. Choose designs rated for shower walls on the product page, and:
- Waterproof the substrate with a membrane or system designed for wet areas, including corners and around fittings.
- Ensure full adhesive coverage behind every tile, with no hollow spots where water could collect.
- Use a grout suited to wet areas, seal it once cured, and use flexible silicone at internal corners and changes of plane.
- Keep the room well ventilated and dry the tiles after use to limit limescale and mould.
Kitchens, fireplaces & floors
Kitchen backsplashes
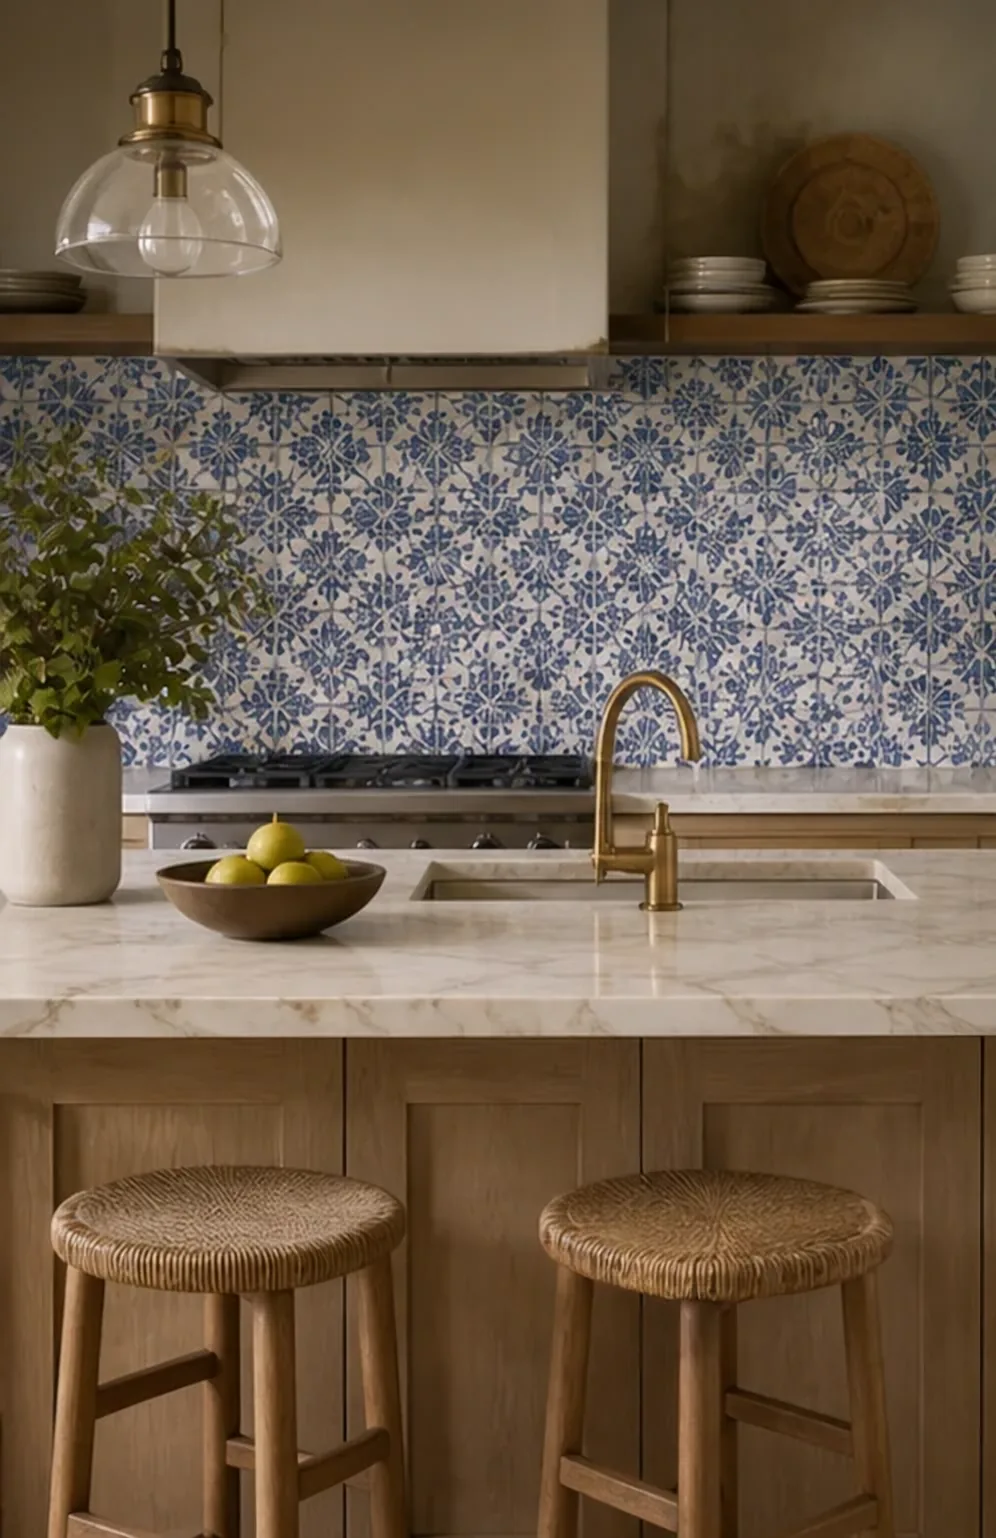
Wipe splashes promptly, particularly grease behind the hob. Keep the clearances around your hob or range that its manufacturer recommends, and use a flexible sealant where the tiles meet the worktop.
Fireplace surrounds
Designs rated for fireplace surrounds are intended for the decorative surround, not for the firebox or any surface in direct contact with flames. Use heat-resistant adhesive and grout, and follow your fireplace manufacturer’s guidance and local building regulations.
Floors
Only use designs rated for light-traffic floors, such as bathrooms and other rooms with light foot traffic. Place mats at entrances to trap grit, use felt pads under furniture, and never drag heavy objects across the tiles.
Outdoor use & frost
Handmade ceramic tiles can absorb a small amount of water. In freezing conditions, that water can expand inside or behind the tile and cause cracking or damage to the glaze. For this reason:
- Use only designs rated for covered outdoor walls, in sheltered positions protected from direct rain.
- Do not use our tiles on uncovered exterior walls or floors, in swimming pools, or anywhere exposed to frost or standing water.
- Use exterior-grade adhesive and grout, with appropriate movement joints.
Planning an outdoor project? Ask our team to confirm the right tile before you order.
Repairs & replacing a tile
A well-installed tile surface lasts for decades, but accidents happen. Because each tile is fixed individually, a damaged tile can usually be replaced without disturbing its neighbours, which is where your spare tiles prove their worth.
- Remove the groutCarefully cut out the grout around the damaged tile with a grout saw, protecting the surrounding tiles with masking tape.
- Lift out the tileWearing eye protection, break the tile from the centre outwards and remove the pieces without levering against neighbouring tiles.
- Clean the bedScrape away the old adhesive so the new tile will sit flush with the surface.
- Set a spare tileBack-butter a spare tile, press it into place, align it with its neighbours and let the adhesive cure.
- Grout and sealGrout, clean and seal the joints to match the surrounding surface.
Small chips in the glaze can often be disguised with a ceramic touch-up kit. For larger repairs, or if you have no spare tiles left, contact us with a photo and your original order number, and we will advise on the best options.
This guide offers general advice. Always follow the instructions of your adhesive, grout and sealer manufacturers and your local building regulations, and ask an experienced professional installer to assess your project.